/body> >

Saturday 21 January 2017

Sarso Ka Saag Recipe


Winter is at its peak and this week was comparatively harsh here in Gurgaon , with most of the schools closed down for 2 days. Such weather calls for food that provide warmth and energy to the body. While piping hot bowl of soup warm up our evenings , during the day time i cook elaborate meals . One such winter delicacy is Sarson Ka Saag and Makki Ki Roti.

Sarson Ka Saag needs no introduction . A very popular North Indian vegetarian recipe that tastes best when served with Makki Ki Roti ( a flat bread made from Maize flour) topped with dollop of desi ghee (homemade clarified butter). Sarson in Hindi means mustard and Saag means greens. So basically Sarson ka sag is a gravy made from Mustard leaves and spices. To cut down the bitter taste of mustard leaves and also to enhance the nutritional value and taste, other greens like Spinach (Palak) and Chinopodium (Bathua) are also added to this curry. 


Sarson ka Saag and Makki ki roti is classic duo from the Punjabi Cuisine. One can find this combo in almost every dhaba and restaurant in North India , especially during winter season. I am surrounded by North Indians in my neighbourhood who relish on this dish almost everyday for their breakfast and i am lucky to get my share without taking any labour to make this scrumptious spread. I learnt making this dish from one of my neighbour and tried at home for the first time. The dish turned out to be a treat to our taste buds and we ended up asking for more. 

Sarson ka Saag is a luscious green gravy rich in vitamins. Making this dish requires both time and patience , as sorting the greens  and chopping them takes most of the time. As such the recipe is very easy to follow and the end results are worth the time. I have used Mustard greens, Spinach and Chinopodium in this recipe and cooked the gravy in pure ghee. After the greens are sorted, washed and chopped, they are cooked thoroughly and then blended with maize flour and spices and then simmered again to get a creamy flavorful saag loaded with healthy goodness of winter greens.
Click on the highlighted words for the link to the recipe of Makki Ki Roti . 

Servings: 5
Preparation Time: 1 hour
Cooking Time: 1 hour

Ingredients for Sarson Ka Saag:
  • 1 bunch Mustard leaves (Sarson)
  • 1/2 bunch Spinach (Palak)
  • 1/2 bunch Chinopodium ( Bathua)
  • 4 green chilies, finely chopped or as per the desired spiciness
  • 2 inch Ginger piece, finely chopped
  • 2 large Onions, finely chopped
  • 1 large Tomato finely chopped
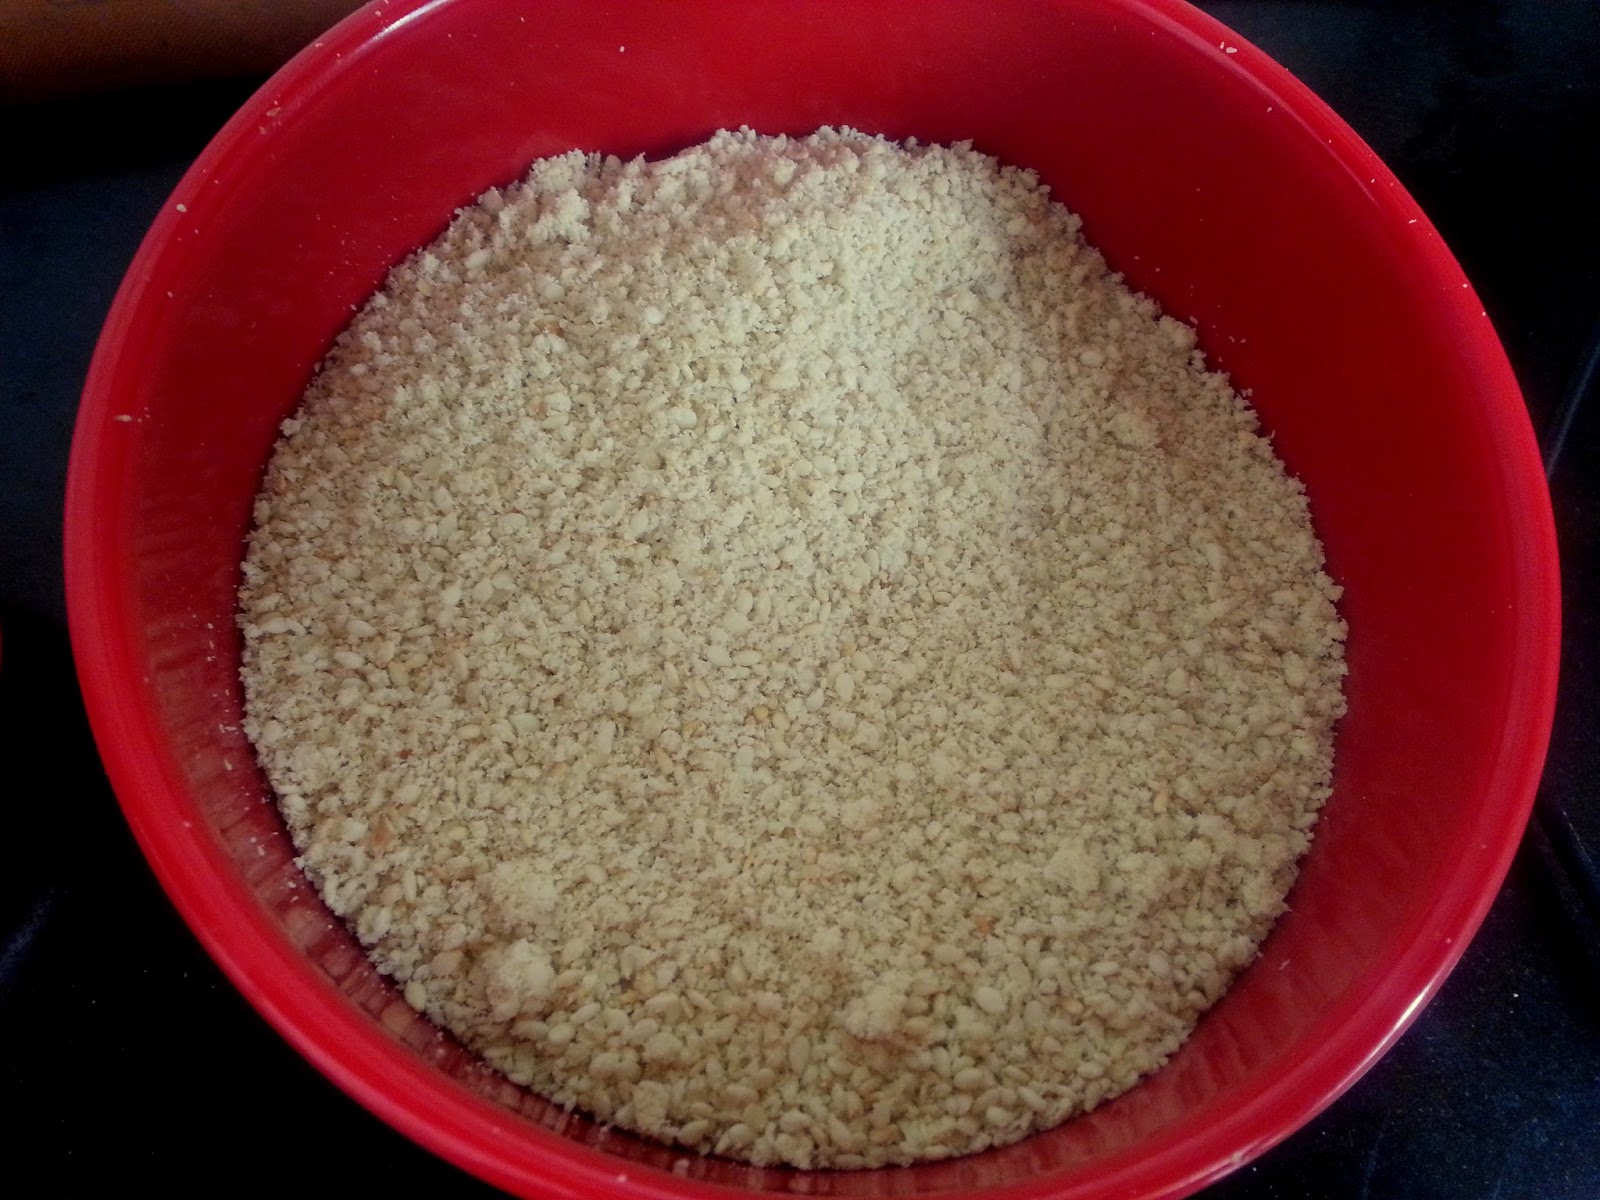
  • 2 tablespoon Maize flour ( Makai ka atta)
  • 1 teaspoon red Chilly powder
  • 1/2 teaspoon Garam masala
  • 1/2 teaspoon Cumin seeds
  • 1/4 teaspoon Turmeric powder
  • Salt to taste
  • Pinch of Asafoetida (Hing)
  • 3 tablespoon Ghee (clarified butter)


  Method:
  1. Sort and wash the greens thoroughly to get rid of all the dirt.


   2. Finely chop all the greens separately.


   3. Transfer the chopped greens to the pressure cooker along with half of the green chilies and enough water ( i added 3 cups of water). Pressure cook for 5-6 whistles and then simmer for 10 minutes. Traditionally the greens are cooked in a pan for long hours.


  4. Open the lid when all the pressure has been released. Add the maize flour to the cooked greens and blend well with a big ladle while still hot. If the greens are finely chopped the mixture will appear creamy after this step. 


  5. Allow the greens to simmer in the same pressure cooker without lid. Add 1/2 cup water or more if the mixture appears to be dry. Keep stirring occasionally.


 6. In another pan , heat the ghee and add cumin seeds. Once the seeds crackle , add the chopped ginger , remaining green chilies and asafoetida and saute for 1 minute or so.


  7. Add the chopped onions and fry until they are light brown.


  8. Now add the tomatoes and stir fry the mixture for another 1 minute.


  9. Add the spice powders and mix them well with the onions and tomatoes. Stir fry for a while.


   10. Add the greens which have been simmering for a while now. Blend everything very well. (Add water to adjust the required consistency of the gravy if needed). 


  11. Add salt and allow the gravy to boil and then simmer for 10 minutes. Put off the flame.


   12. Serve the delicious Sarson ka saag piping hot with Makki Ki Roti topped with dollop of home made butter or ghee and salad (whole green chilies, radish and onions).


  Notes:
  • You can add grated radish and chopped radish greens also while cooking the greens.
  • After the greens have been cooked, you can puree them in a grinder if you wish to have a smooth gravy. I have not purred.

Do try out this recipe if you liked it. Would love to hear from you.

For more such green curry recipes , do check my posts on


Thursday 19 January 2017

Makki Ki Roti / Gluten-Free Indian Flat Bread From Punjabi Cuisine


 Makki Ki Roti is an Indian flat bread made from the Maize flour. This is a gluten free , unleavened bread from the Punjabi cuisine and is generally served as an accompaniment with the delicious Sarson Ka Saag. This classic combo is a popular winter food in the Northern India. 


  Makki in Hindi means Maize and roti is flat bread. Making makki ki roti at home needs some practice and patience. As the Maize flour is gluten free, it is very difficult to roll out makki ki roti like the wheat flour chapati. Traditionally the dough ball is flattened in between the palms . This method needs lots of practice. To begin with , you can either roll them into small size in between the zip-lock bags or simply pat them on a plastic sheet using your palms and fingers and then carefully transfer them to a skillet to cook . 


Though Makki ki roti is usually served with Sarson Ka Saag , it tastes good with any leafy vegetable curry like Spinach or Fenugreek. It can also be had along with some pickle. Makki ki roti is dense and slightly difficult to digest. Carom seeds / Ajwain is added to the maize flour to help digestion. Cilantro can also be added to the maize flour before the roti dough is kneaded. Traditionally lots of ghee is applied to this bread while roasting it. Finally the slightly crisp makki ki roti is topped with a dollop of home made butter and served with Sarso ka saag , salad and buttermilk.

Serves: 4
Preparation Time: 10 minutes
Cooking Time: 15 minutes

Ingredients: Measurement used 1 cup = 200 ml
  • 2 cup Maize flour
  • 1 teaspoon carom seeds / Ajwain
  • Salt to taste
  • Warm water as required to knead the dough
  • Ghee as required to roast the roti.
Method:
  1. In a mixing bowl take Maize flour, salt and carom seeds. Mix well .


   2. Using warm water knead the flour into a firm dough.


   3. Make equal portions of the dough. Take a portion and keep it over a plastic sheet.


  4. Using your palms and fingers, tap the dough ball to get a round roti. Start by making small roti. As it tends to tear if we make a big size roti. You can also roll the dough between a zip-lock bag .


5. Carefully flip the roti over the skillet and lift the plastic sheet . take care the sheet does not touch the tava.


   6. Alternatively , you can transfer the roti delicately on your palms and then slowly on to the tawa.


   7. Cook the roti from both sides until it is crisp and golden brown spots appear on it. Apply ghee as required while roasting the roti. 


   8. Repeat the process for rest of the dough.


  9. Serve the crisp Makki ki roti hot with Sarson Ka Saag and enjoy  !


  Notes:
  • Do not confuse the maize four with cornflour. Cornflour is white in color and is used in desserts and soups for thickening. Maize flour is easily available in Indian grocery shops .
  • Be careful while transferring the Makki ki Roti on tava as it tends to break easily. Try making small roti if you are trying out this bread for first time.


Sunday 15 January 2017

Hirvi Mirchicha Kharada / Green Chili and Garlic Chutney from Maharashtrian Cuisine


 Maharashtrian cuisine comprises of a variety of mild to very spicy tongue tickling dishes. The food is tempting and delicious and makes use of aromatic and flavorful ingredients. Peanuts and sesame seeds are widely used in curries and chutneys.  Garlic and chilies are liberally used in many of the dishes which give a characteristic zesty and spicy taste to the food. One such fiery hot chutney is the hirvi mirchicha kharada thecha.


Hirvi Mirchi is green chili in Marathi and kharada / thecha is to crush. So basically thecha is a green chili crush. Traditionally Mirchicha thecha is made using only two main ingredients , green chili and garlic. A thecha has green chilies and garlic crushed together using a stone mortar and pestle with some salt. This thecha is very spicy and served with bajra or jowar roti. Kharada recipe calls for use of some more ingredients like peanuts, coriander leaves which lower the hotness and make the preparation more aromatic.


Hirvi Mirchicha Kharada is a delicious fiery hot chutney which can spice up any meal. It is generally served with Bajrichi Bhakri and this classic combo is a comfort food during winters.This is one of my most treasured personal heirloom recipes.  Have added onions , fresh coriander leaves and little peanut powder apart from the main ingredients , green chili and garlic. Addition of very small quantity of jaggery powder gives a slight sweet hint to the otherwise fiery hot preparation. Hirvi Mirchicha Thecha / Kharada can be served with Bajra or Jawar roti ( flat bread). It goes well as a side dish with curies like Bharli Vangi ( stuffed Brinjal) , Vangyacha Bharith ( roasted eggplant stir fry) , Zunka etc. The thecha/ kharada can be made in bulk and used in other curries and stir fries for its fantastic flavor and aroma. It stays good for 2-3 days on refrigeration and for about a week if you do not add onions and coriander leaves. 


Serves: 1/2 cup 
Preparation Time : 5 minutes
Cooking time : 10 minutes

Ingredients:
  • 10-12 Green chilies
  • 5-7 Garlic cloves
  • 1 Onion , finely chopped
  • 1 small bunch of fresh Coriander leaves
  • 1 tablespoon roasted Peanut powder
  • 1 teaspoon Jaggery powder
  • 1 tablespoon Oil
  • Salt to taste

Method;
  1. Wash the chilies and pat dry with a kitchen towel. Discard the stems. On a heated skillet drizzle few drops of oil and add the green chili and garlic cloves . 


  2. Fry them on a low to medium flame for 3-5 minutes or until light brown spots appear all around the chilies and garlic cloves. Keep stirring so they get evenly fried.


  3. Transfer the fried chilies and garlic to a mortar and pestle along with salt and make a coarse crush. You may use grinder for this, but just pulse it once or twice as we do not want a fine paste.


  4. On the same skillet add remaining oil and fry the chopped onions until translucent.


  5. Add the chili ginger crush to it and stir fry on a low flame for 1-2 minutes.


  6. Add the roasted peanut powder and jaggery to the mixture and stir well. Saute for another 1 minute.


  7. At the end add finely chopped coriander leaves and mix well. Put off the flame.


   8. Remove the mirchicha kharada and allow to cool down before serving.


   9. Serve the lip smacking hirvi mirchi cha kharada with bajrichi bhakri and enjoy ! Transfer the remaining in an airtight container and refrigerate until further use.


  Notes:
  • You can add cumin seeds also in this recipe for variation.
  • Put on the exhaust fan while frying the green chilies, as the steam from the chilies may cause irritation and running nose. 
  • After peeling the garlic cloves, allow them to sit on the counter for 5-10 minutes before using them for cooking or eating. Waiting for 5-10 minutes allows the health promoting alliicin to form. So it is worth the wait.
  • You may squeeze lemon over the hirvi mirchi cha kharada just before serving.

 If you are also a spice lover like me and haven't yet tried this kharada, do try out this simple recipe, as you would love it for sure. 

  For more similar recipes, do check my posts on


Thursday 12 January 2017

Peanut Sesame Fudge / Til ki Burfi recipe


Til ki burfi is a perfect combination of nutty sesame seeds and peanuts with jaggery. This peanut sesame fudge is soft, chewy and absolutely delicious. Flavoured with green cardamom powder and garnish with almond slivers, the til burfi has a characteristic nutty flavor and stays good for about a week at room temperature, provided it lasts until then. My vanished within 2 days :) With a very easy recipe the fudge is ready within 30 minutes. I make this sweet treat for Makar Sankranti festival. Til ki burfi can be served as dessert after meals or had with milk in the morning. It can also be enjoyed any time of the day just like that to satisfy some sweet cravings. Kids love them in their snacks box. This fudge can also be had during fasts (vrat).

What is Makar Sankranti ?

Makar Sankranti is one of the most auspicious days for Hindus and as the first festival in the year's calendar it is eagerly awaited by one and all. It marks the end of the long winter, as the sun begins its northward journey and so this festival is called Uttarayan also. After Sankranti the days start becoming longer and warmer and the chill of winter declines. farmers pray on the occasion to be blessed with bountiful harvest.

This harvest festival is celebrated in different parts of India by different names. In North India, large bonfires are lit on the eve of Sankranti , known as Lohri. In  many states of South India, it s celebrated for 4 day long festival called Pongal. In Gujarat it is known as Uttarayan, in Maharashtra , Makar Sankranti, in Uttar Pradesh as Khichri. Lord Sun is worshipped on this day and people take dip in holy rivers.


Importance of Til or Sesame seeds during Makar Sankranti:

Til or Sesame seeds are of special importance during Makar Sankranti. Sweets made from Til are offered to deity and distributed among family, friends and needy.Sesame seeds have oil in them which generates heat in the body which is much needed during winters. Jaggery on the other hand has healthy sugar that keeps the body energised. So having this burfi during winter season has lots of health benefits. Sesame seeds are also excellent sources of calcium, iron, copper, manganese , magnesium , phosphorous, dietary fibers, protein and carbohydrates. 

In Maharashtra, on Makara Sankrati, married women are invited for a get together called Haldi Kumkum and given new utensils or gifts and sweets made from Til and Jaggery. Hailing from a typical Maharashtrian family, i usually make Tilgul Ladoo and Tilgul Poli for the occasion. This time i made this delicious Til burfi also. Peanuts Sesame Seeds and Coconut ladoo and Dates, nuts and sesame seeds candy are also very addictive and perfect winter treats. 


What goes into this Til Ki Burfi / Peanut Sesame Fudge ?

As the name suggests this fudge is made using peanuts and sesame seeds. Jaggery is the sweetener used in this recipe. Cardamom powder compliments very well with jaggery. Silvered almonds are used for garnishing the fudge. Little quantity of ghee is also used in this fudge which adds a rich flavor and shine to the fudge. However, you may skip it for a vegan version. The roasted sesame seeds and peanuts are powdered, before adding to the jaggery syrup. The mixture so formed is cooked for a while and poured on the greased trays and allowed to set. The amount of ingredients used in this recipe yield around 15 fudge pieces. You can easily double the recipe. The fudge is ready under 30 minutes and stays good for about a week at room temperature. 

Related Event:

This is an old post which i had published in 2017 during my initial blogging days. I have updated this post today with written content but have not changed the recipe. I have many such old posts where the photography is dull and the recipe is not up to the mark. Such posts need to be updated with new pictures and written content. Thanks to Renu, my dear friend and a fellow blogger who came up with a Facebook group, Foodies_Redoing Old Posts as an initiative, wherein we bloggers can update our old posts with either new pictures or written content or both every two weeks. This is my 13th entry into this event (10th January). Now, without any further ado, let's get to the recipe.

Foodies_RedoingOldPost


Preparation Time: 10 minutes
Cooking Time : 12-15 minutes.
Serves: 15

Ingredients: Measurements used 1 cup = 200 ml
  • 1 cup Sesame seeds / Til (150 grams)
  • ¾ cup Peanuts/ Mungfali giri ( 150 grams)
  • 1 cup powdered /grated Jaggery / Gud (200 grams)
  • 2 tablespoon Almond slivers
  • 3 tablespoon Ghee / clarified Butter
  • 1/4 teaspoon Green Cardamom powder / elaichi

  Method:
  1. Grease a tray or deep plate with ghee and keep aside until use. Heat a pan on medium flame. Dry roast the sesame seeds in it for 2-3 minutes or until they pop and turn pink in color. Keep stirring so that the seeds do not burn as they will turn bitter.

  2. Remove the roasted sesame seeds in a plate and allow them to cool down. Now pulse them in a grinder jar to get a coarse powder. Do not pulse for a very long time as the mixture will turn sticky because of the oil in the seeds. 


  3. In the same pan dry roast the peanuts for 2-3 minutes on medium flame. Allow them to cool down, remove the peel by rubbing the peanuts against the palms. Discard the peels. Make a coarse powder using grinder. Keep aside until use.


  4.  In the same pan heat ghee and add grated or powdered jaggery to it. Add 3 tablespoon ( 1/8 cup) water to it and mix well and cook on low flame until the jaggery melts completely.


  5. Add the powdered sesame and peanut to the jaggery syrup.


  6. Mix very well with a spatula and allow the mixture to cook until it leaves the pan. This will take about 3-5 minutes. Keep stirring continuously to ensure the mixture does not catch the bottom of the pan.


  7.  Put off the flame and add cardamom powder to the fudge mixture. Mix well.


   8. Pour the mixture onto the greased tray and pat the surface with a greased flat spatula or with hand to even it. Keep the desired thickness of the fudge. 


  9.  While the mixture is still hot garnish the fudge with almond slivers and press slightly so that the slivers stick to the fudge.


  10. Cut the fudge in desired shapes using a sharp knife before it sets. The fudge sets fast in cold weather. Here in Gurgaon it is freezing cold this week. My fudge took hardly 10 minutes to set.


   11. Separate out the fudge pieces and transfer them to air tight container on cooling. 


  12. Enjoy the healthy and delicious Til burfi with your loved ones !


Notes:
  • Do not add more water while making the jaggery syrup. Always add water in measured quantity. I added just 3 tablespoon water. If the water quantity becomes more the fudge will not set. If you add less the fudge will become hard.
  • Garnishing the fudge with almond slivers is optional. You may skip it.
  • You may lower the quantity or completely skip addition of ghee in this fudge for a vegan version. But ghee gives a nice flavor and shine to the fudge.
  • Do not cook the mixture for a very long time. The mixture is ready to pour to the greased tray once it leaves the sides of the pan. If you cook more the fudge will become hard. 
I hope a few of you would love to try out this recipe. If you do so, feel free to share your feedback with us in the form of likes and comments in the comment section below this post. All your suggestions are also more than welcome. If you like my work and feel it is worth following, do hit the follow button at the top right corner of this blog. Your appreciation means a lot to me. For more recipes and new updates follow us on social media.

Wishing all my readers a very Happy Lohri , Makar Sankranti and Pongal !!!

For more Makar Sankranthi, Lohri and Pongal special recipes do check my posts on


poonambachhav.blogspot.com